
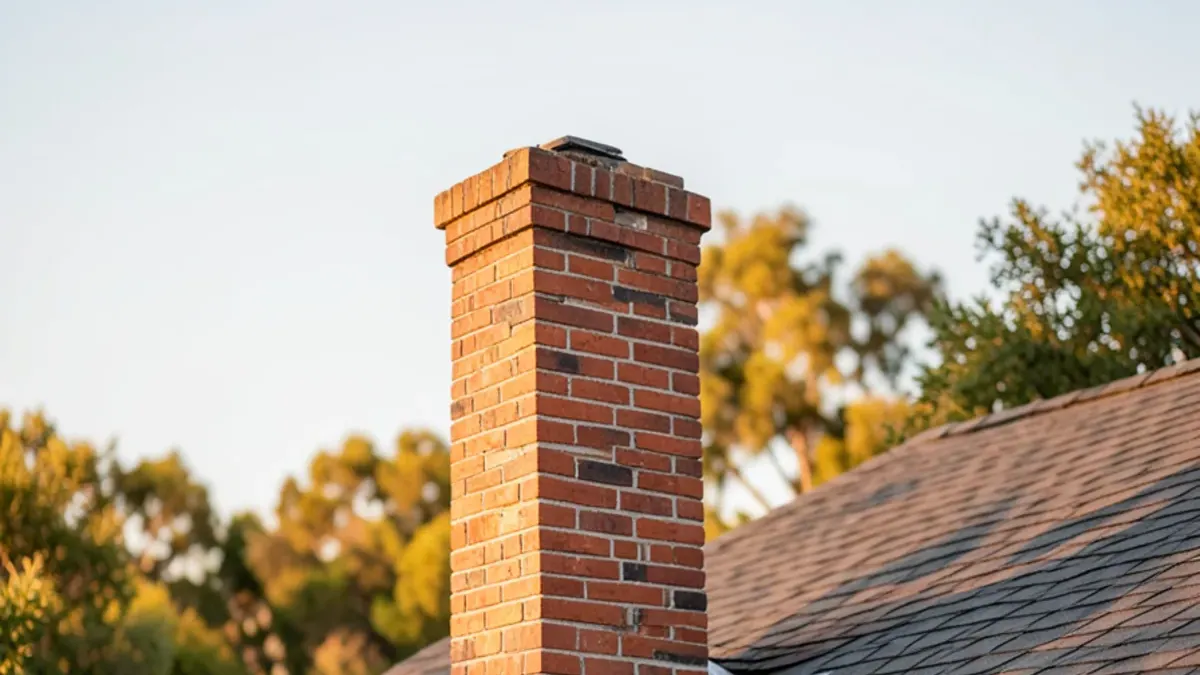
What is roof flashing and why does it fail?
Flashing is thin metal, usually galvanized steel or aluminum, that directs water over a joint where the shingles cannot do the job alone. It fails for four reasons: age and corrosion, movement between materials, sealant that dries out, and wrong installation. When any of those happens, water gets behind the shingles and shows up as a ceiling stain, often well away from the entry point.
Many leaks end at a flashing joint, not in the open shingle field. The field has few seams. The joints around chimneys, walls, vents and skylights have many.
Where do roof flashings fail first?
Five places account for most of the failures:
- Chimneys. Base flashing, step flashing up the sides and counterflashing set into the mortar. A wide chimney also needs a cricket, a small peaked diverter on the upslope side.
- Roof-to-wall junctions. Step flashing along a stucco or siding wall, with the wall covering lapped over it.
- Valleys. The seam between two slopes carries the most water on the roof.
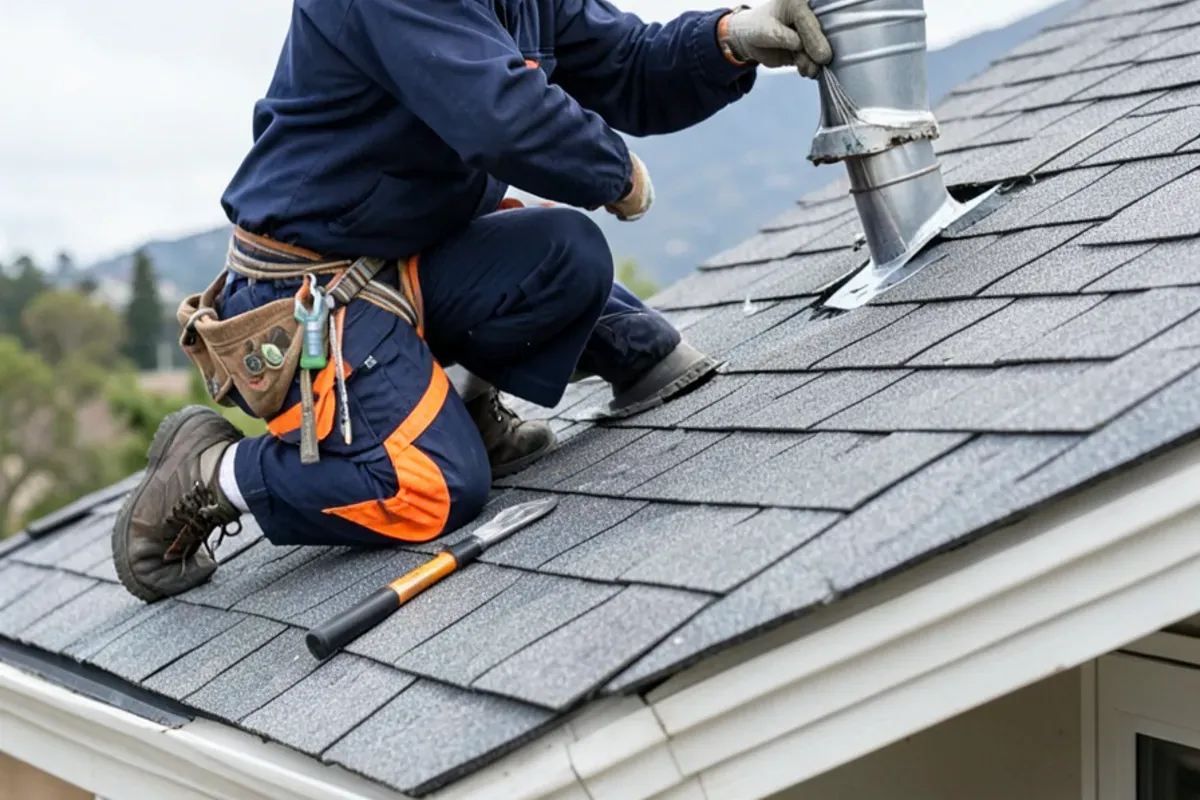
- Plumbing vent boots. Rubber collars that crack in sun.
- Skylights. Four-sided flashing that must be layered with the shingles.
Check each with binoculars from the ground before anyone climbs a ladder. You are looking for lifted metal, rust streaks, exposed nails, dried or cracked sealant and tar patches.
What do the main flashing types do?
Knowing the names helps you read an estimate.
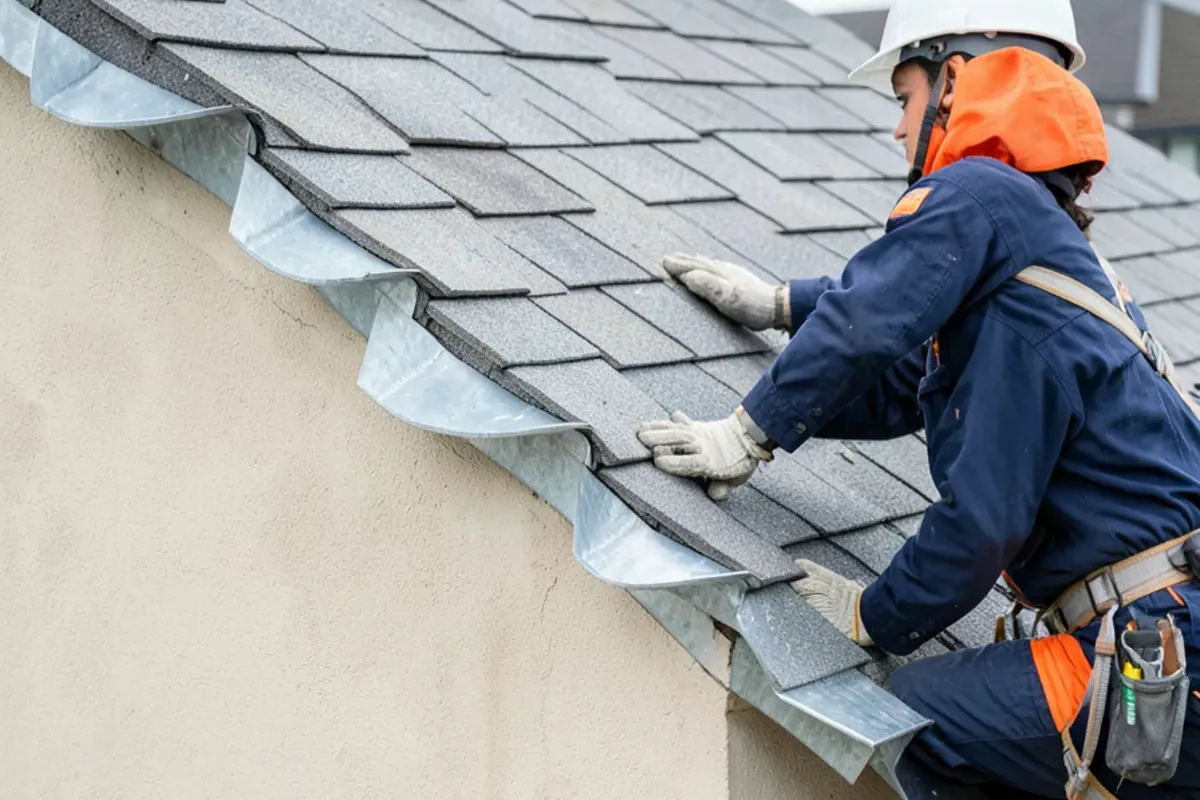
Step flashing is a row of small L-shaped pieces, one per shingle course, woven in along walls and chimney sides. Each piece overlaps the one below, so water always runs over the next piece, never behind it.
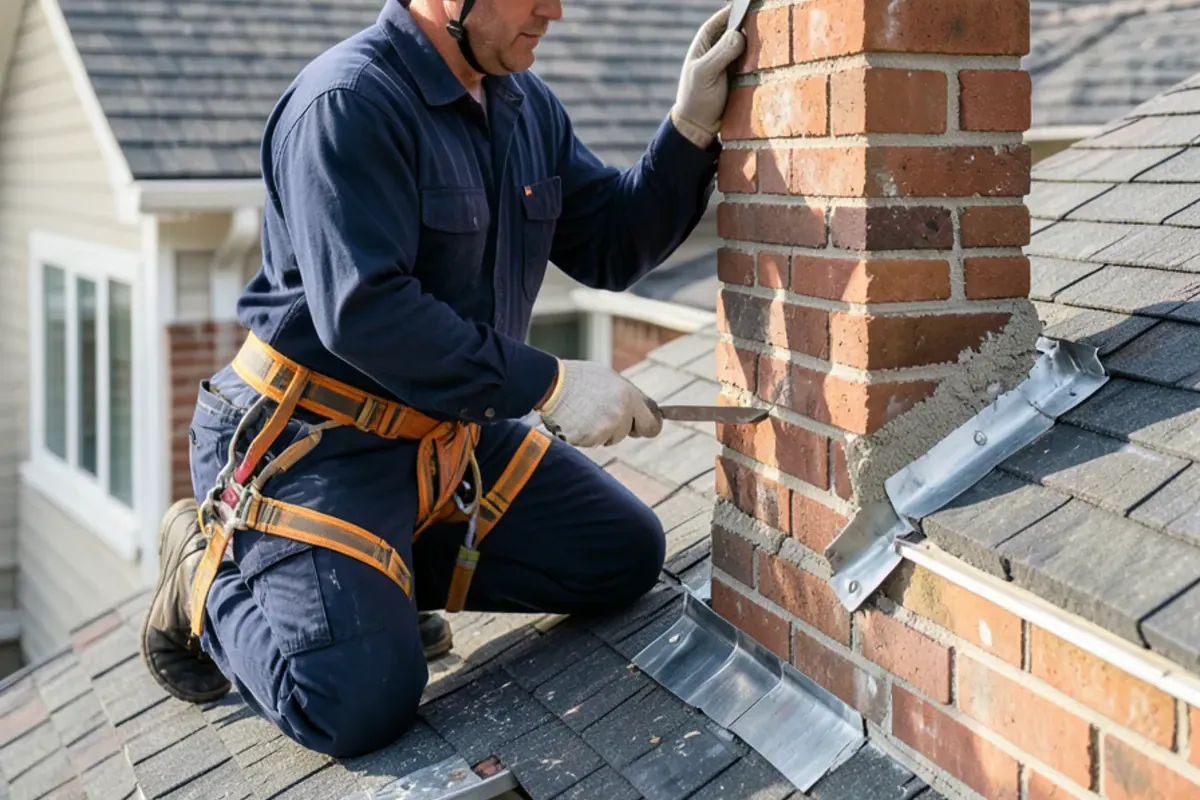
Counterflashing is a second layer that covers the top of the step flashing. On a chimney it is set into a cut mortar joint and folded down.
Apron flashing is a single piece along the front of a chimney or wall that sits on the downslope side.
Valley flashing is a metal channel, or a woven shingle valley over underlayment, where two slopes meet.
Drip edge is the metal strip at the eaves and rakes that kicks water off the edge instead of onto the fascia.
A chimney-flashing guide from a home-building publisher describes the same layering and warns against relying on asphalt cement alone at the masonry joint.
What should a reroof estimate say about flashing?
Every reroof estimate should list flashing line by line, because flashing is where cheap bids cut corners. Use this checklist when you compare quotes:
- Step flashing: new pieces at every wall and chimney side, one per course
- Chimney: new base and counterflashing, cut into the mortar joint, not just surface-sealed
- Vent boots: replaced, not caulked
- Valleys: metal or woven, and what lies under them
- Skylights: new flashing kit or a reseal, stated plainly
- Drip edge: installed at eaves and rakes
- Any flashing being reused, with the reason
Reused flashing is the line to question. Old metal has been bent, nailed and sealed, and it rarely lays flat a second time. It is the most common cause of a leak around a skylight or sidewall after a reroof. If a bid is far lower than the others, flashing is the first place to look.
When does resealing work, and when does it not?
Resealing works when the metal is sound and the failure is a dry, cracked bead of sealant at an otherwise correct detail. It does not work when the flashing is wrong. Look at these signs:
| Condition | Usual repair |
|---|---|
| Sound metal, cracked sealant at a joint | Remove old sealant, reseal |
| Rusted or holed metal | Replace the flashing |
| Counterflashing loose in mortar | Re-cut the joint and reset it |
| Step flashing missing or one long strip | Replace with proper step pieces |
| Cracked vent boot | Replace the boot |
| Wide chimney, no cricket | Add a cricket |
Resealing everything with roof cement is the temporary fix that turns permanent. A thick layer of tar hides the real problem and makes the next repair harder.
What do roofers look for that owners miss?
A roofer checks how the metal is fixed, not just whether it is there. The details below decide whether a repair lasts:
- Overlap direction. Each upper piece must lap over the lower. A strip laid the wrong way channels water behind the shingles.
- Fastener placement. Nails go where the next shingle covers them. Exposed nail heads in flashing leak first.
- Metal choice. Aluminum placed against wet mortar or fresh stucco can corrode, so masonry joints are often detailed in galvanized steel or copper.
- Chimney crickets. A wide chimney with no diverter on the upslope side collects water and debris and wears out its flashing sooner.
- Movement. Where a roof meets a wall of a different material, the two move at different rates, and rigid caulk alone cracks.
The trade-off is cost against access. Re-cutting a chimney counterflashing into the mortar takes longer than surface sealing, and it holds for years longer when done right. Surface sealing is fair as a stopgap before the rains, as long as the estimate says that is what it is.
How we handle flashing repairs in Alameda
On one Alameda job, three skylights were resealed at the flashing instead of being replaced. On other jobs, flashing and gutter faults left by an earlier roofing job were fixed in the same visit. Flashing repairs are often small, and the right fix is whatever the metal needs.
The steps for a flashing repair:
- Inspect the joint from the roof and the attic, with photos
- Lift the shingles around the joint as needed
- Replace or reset the flashing, in the right overlap order
- Re-shingle and seal the nail heads
- Water-check the repair if conditions allow
Customers report photos of progress and finished work arriving the same day, so you can see what was behind the shingles.
How long should flashing last?
There is no single answer, because flashing fails from different causes. Metal flashing that is correctly layered and kept dry can outlast the shingles around it. Sealant, tar and rubber boots wear out sooner because sun and temperature swings dry them out. Industry life-span ranges for roofing parts vary widely, and site conditions change them, so inspect flashing whenever the roof is inspected rather than waiting for a stain.
A good habit is a quick look each fall before the rains. From the ground with binoculars, check:
- Chimney sides and base for lifted metal or fresh tar
- Vent boots for cracks around the pipe
- Wall junctions for gaps where siding or stucco meets the roof
- Valleys for debris and exposed or rusted metal
- Skylight edges for peeled sealant
Write down what you see and take a photo. If a spot looks different next year, you have a record to show a roofer.
Older homes and flashing
Houses with chimneys, dormers and tall walls have many more flashing joints than a plain gable roof. That is true across the Bay Area, including Piedmont, which we cover from our Webster St office in Alameda, about 18 minutes away in light traffic. An older roof with several additions can hide old flashing layers under newer shingles, which is why a leak can persist after one patch.
If you suspect flashing, ask for a roof flashing repair inspection, read how a roof leak repair visit works, browse the full roof repair section, or read about Piedmont coverage. For Alameda, start at the home page.
Call the office and book a free inspection; flashing problems are easier to price once someone has lifted the shingles and looked.